
How to Propagate Pothos: 3 Easy Methods That Always Work
Tags: how to propagate pothos, propagate pothos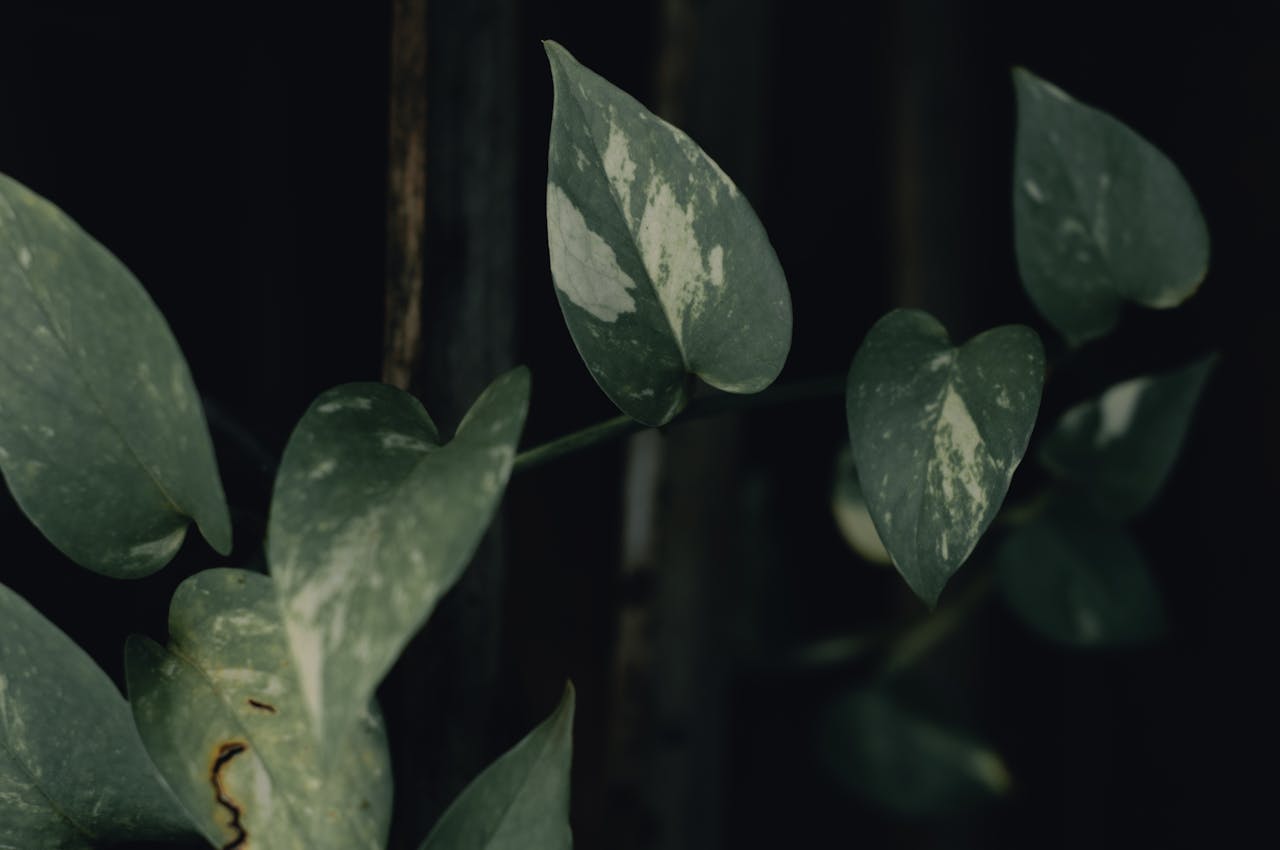
| 2–3 Weeks Roots in water | 95%+ Success rate | Free Cost | Year Round Can propagate | 3 Methods Covered |
Pothos propagation is the gateway drug to plant propagation in general. It succeeds reliably, roots visibly in water so you can watch the process, and produces free new plants from what would otherwise be pruned material. One mature pothos can fill an entire home with cuttings at zero cost over a growing season.
This guide covers all three propagation methods — water, soil, and division — with step-by-step instructions and troubleshooting for each.
Understanding Pothos Anatomy: Nodes and Internodes
Before taking any cutting, you need to identify the node — the small bump on the stem where a leaf attaches. This is where roots will grow from. Every cutting must contain at least one node to root successfully.
The internode is the section of stem between nodes. Cuttings taken mid-internode with no node will not root — they will simply rot.
| ✂️ Key Rule Every pothos cutting must include at least one node. The node is a slightly swollen bump on the stem at the point where a leaf grows. No node = no roots. This single rule determines whether propagation succeeds or fails. |
Method 1: Water Propagation (Easiest — Best for Beginners)
Water propagation is the most popular method because it allows you to monitor root development visually. Roots appear within 1–3 weeks and can be observed growing longer before transferring to soil.
Step-by-step:
- Choose a healthy stem with 2–4 leaves and at least 2 nodes. Avoid yellowing or damaged growth.
- Cut just below a node with clean scissors or secateurs. The cutting should be 10–15cm long.
- Remove all leaves from the lower 5–7cm of the cutting — submerged leaves rot and foul the water.
- Place the cutting in a clean glass or jar of room-temperature water. The node(s) must be submerged; leaves should be above water.
- Position in bright indirect light. Avoid direct sun — it encourages algae growth in the water.
- Change water every 5–7 days to keep it oxygenated and prevent bacteria build-up.
- Pot on when roots are 3–5cm long — don’t wait until they’re very long (long water roots struggle to transition to soil).
Potting on from water: fill a small pot with moist potting compost. Make a hole with a pencil. Lower roots gently in, backfill carefully. Water well and keep consistently moist for 1–2 weeks while the roots transition — water roots are different in structure from soil roots and need time to adapt.
Method 2: Soil Propagation (Best Long-Term Results)
Soil propagation produces cuttings that are already adapted to growing in soil — they skip the transition shock that water-propagated cuttings sometimes experience.
Step-by-step:
- Prepare small 8–10cm pots with a moist mix of 60% potting compost and 40% perlite.
- Take cuttings as described above — at least one node per cutting.
- Optional but helpful: dip the cut end in rooting hormone powder or gel (widely available at garden centres).
- Make a small hole in the compost and insert the cutting so the node is buried just below the surface.
- Firm gently around the base and water lightly.
- Cover with a clear plastic bag or propagation dome to maintain humidity. Remove for 30 minutes each day to prevent fungal issues.
- Place in bright indirect light. Maintain moisture — the compost should feel barely damp, not wet.
- Roots develop in 3–5 weeks. Test by gently tugging — resistance means roots have formed.
| 💧 Moisture Balance The most common failure in soil propagation is either too wet (stem rots) or too dry (cutting desiccates before rooting). The compost should feel like a just-wrung sponge — damp but not dripping. Check every 2–3 days. |
Method 3: Division (Fastest — Produces Largest Instant Plants)
Division involves separating an established multi-stemmed pothos into individual plants during repotting. It’s the fastest way to produce large, immediately presentable plants rather than small rooted cuttings.
Step-by-step:
- Remove the plant from its pot. Gently shake or rinse roots to remove excess compost.
- Identify natural separation points — where distinct stems originate from the root ball.
- Gently pull or cut roots apart to separate the plant into 2–4 sections, each with its own roots and stems.
- Pot each section into its own pot with fresh compost. Water well.
- Keep in bright indirect light and avoid direct sun for 1–2 weeks while the plant re-establishes.
When to Propagate Pothos
| Best time | Spring (March–May) — plant is entering active growth; roots develop fastest |
| Second best | Summer — warm temperatures support quick rooting |
| Avoid | Winter — slower rooting, higher risk of rot in cool temperatures |
| Water temperature | Use room-temperature water — cold water slows root development significantly |
| Light during rooting | Bright indirect light is ideal — avoid low light (slows rooting) or direct sun (causes algae and overheating) |
Troubleshooting Pothos Propagation
Q: My cuttings have been in water for 3+ weeks with no roots — what’s wrong?
A: Check that the node is submerged in the water. Nodes above the waterline will not produce roots. Also ensure the water is changed every 5–7 days (stale, low-oxygen water significantly slows rooting) and that the cutting is in bright enough light.
Q: The stem of my cutting is turning mushy in water — what do I do?
A: This is bacterial rot. Remove the cutting, trim the affected section back to clean stem above the rot, and place in fresh, clean water. Change water every 3–4 days rather than 5–7. Ensure you removed all leaves from the submerged section — rotting leaves are the primary cause of this problem.
Q: My rooted cutting is wilting after I potted it from water into soil — is it dying?
A: This is normal transition stress. Water roots and soil roots are structurally different — the cutting needs 1–2 weeks to develop soil-adapted roots. Keep consistently moist, avoid direct sun, and wait. The cutting will recover in most cases. Misting the leaves daily helps reduce transpiration stress during this period.
Q: How many cuttings can I take from one plant?
A: You can take cuttings from any healthy stem, provided you leave at least two or three leaves on the parent plant for continued photosynthesis. Pruning for cuttings actually encourages bushier growth on the parent plant — it stimulates side shoots from nodes below the cut.
| 📚 Authority Sources • Gardeners’ World — How to propagate plants • Penn State Extension — Plant propagation |